Scarlet Witch VFX Recreation: Final Wrap-Up
Long time no post, right? The end of the semester really had it out for me with all the projects I had due, along with some good ‘ol fashioned life craziness with having to deal with moving right after the semester was over. But, I did finally finish my Scarlet Witch VFX recreation project in the meantime, and I’m very excited to finally share the finished product and full process here!
Process Breakdown - How It All Started
So, for those of you who are new or maybe need a refresher, during my spring 2023 semester at UTD, I started my first independent study in VFX in Houdini with Nelson Lim. I first started learning Houdini in August of 2022 in Professor Lim’s Visual Effects I course, and to my surprise, I quickly fell in love with working with and utilizing the program to create VFX. At the end of the semester, I was eager to continue developing my VFX creation skills, eventually leading me to pursue an independent study on the subject.
It didn’t take me too long to decide what the subject of my study would be. Wispy magic effects have always been something that intrigued me when it came to VFX in both films and games, so I decided to focus on trying to recreate what I believe is one of the most iconic magic FX in the film industry: The Scarlet Witch’s magic from the MCU films. I selected a specific clip to recreate from Marvel’s Disney+ show Wandavision where you can really see the details of Wanda’s magic, and set off on my project for the semester.
My first task was to break down the effect into its individual parts, which I actually ended up adding to as I went about creating the VFX. My initial identifications of the parts of the magic were the core, outer orb, and branching tendrils. Each of these parts was to be a separate aspect of the simulation in Houdini, which I quickly started to get to work on after figuring out a base plan.

Houdini Simulations - A Tale of Trial and Error
My first attempts to recreate Wanda’s magic were very much a learning experience of testing out Houdini’s particle systems and researching the millions technique that most VFX artists use to create these kinds of wispy particle effects. At first, I only used this technique for the outer orb and branching tendrils— creating an attribute I called “emit” in order to project a stringy and tendril-like pattern of noise on a sphere I had already scattered points on placed a basic mountain deforming node on. From there, I just used a POP net to project particles from the areas dictated by the emit attribute, which would emit continuously to create the tendrils of the Scarlet Witch’s magic. I would then use an Attribute blur node to clump the particles together to make them conform slightly more to the stringy shape of the tendrils rather than totally dispersing out on their own. Finally, once these particle systems were created and had the right shape, I went into the TOPs network to create 10 wedges of my simulations of about 100,000 particles each (for the outer orb at least), ending up with a combined simulation of 1,000,000 particles.

Outer orb wedged particle simulation in Houdini
The branching tendrils went through the same process, just with a more sparse emit pattern and less particles simulated overall.

Branching tendrils wedged particle simulation in Houdini
For the core, I first tried simply using a continuously deforming sphere with the mountain node, driven by an attribute I created called “energy” to control the pattern of deformation. However, the core ended up being my biggest problem for a long time, always looking too solid and sharp when compared to the more fluid and dispersing movement of my reference shot.
In the end, thanks to some wisdom from a tutorial by Era VFX, I was able to recreate the sphere using a similar method with the particle systems I had already created for the outer orb and branching tendrils. The core in my end product is also driven by a POP net, just with more confined parameters that would keep the core more small and erratic movement-wise.
You can see a comparison of the two methods used below, definitely a big difference in the quality of the shape created!

Initial core in Houdini
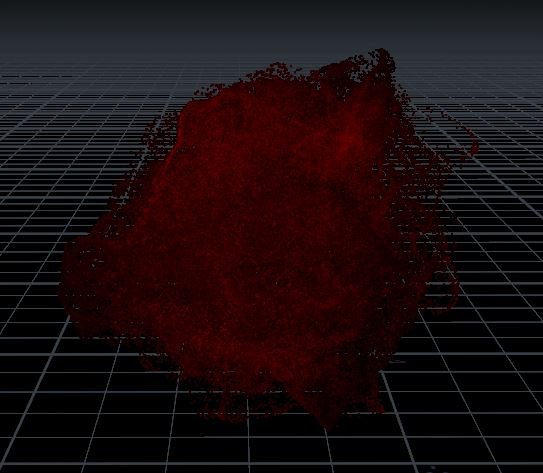
Final core in Houdini
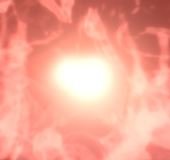
Initial core post-comp
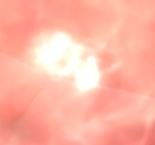
Final core post-comp
After creating all the basic building blocks of Wanda’s magic, I still felt like there was a little something missing. So, I delved into the world of smoke simulations to create a volumetric smoke pass to make the magic feel more full and enhance its movement. This was my first time working with smoke simulations, and boy was it both intimidating and very interesting at the same time. I definitely wouldn’t have been able to create it without the help of various tutorials, and even so, I know there’s so many intricacies of smoke simulations I didn’t even touch. Definitely something I want to learn more about in the future!
For now though, I stuck with a pretty rudimentary smoke sim, creating it in the vague shape of the outer orb and allowing for some slow wispy movement. I cannot fully detail the process of creating this smoke since I’m still very much a beginner myself, but it essentially was just creating pyro source utilizing a basic sphere geometry, deforming it with some attribute noise nodes, adjusting the density with a DOP network, and making final adjustments with the pyro post processing node.

Smoke sim in Houdini
My last task in Houdini was to create some geometry lights to affect primarily the volumetric smoke and add more detail to its coloring, but also to cast some dynamic light on the figure included in my shot to act as Wanda’s hand. This seemingly simple task caused me more trouble than you can imagine, and I’m still not sure if my difficulties were caused by user error or the program itself. Houdini happens to have a very convenient node already created in the SOP network to create geometry lights utilizing the render geometry settings node, but for some reason, this node never wanted to work on my particles. I created a more reduced-particles version of my core simulation, fed it into the node, and there was no light to be found.
After some extensive troubleshooting with Professor Lim, I finally found a method that worked for me and actually created light that would emit onto the other objects in the scene. This method ended up being feeding my modified core particle sim into an instancer node along with a basic point light, and then projecting that light onto both my smoke sim and the figure geometry to get that red glow. Tech artists beware though, this method was very resource-heavy and crashed my Houdini a good couple times! I definitely learned the hard way that trying to instance 5,000 point lights onto particles was not the smartest way to create an effective geometry light. In the end, my simulation consisted of only 93 points, which created a very nice and lively glow for the smoke and the figure.
Below you can see the full contact sheet of all the raw simulated parts of my final effect:
Nuke Compositing - Less is More
The rest of my compositing process was completed in Nuke, which I had used briefly for a lighting and comp class I took a couple of semesters ago. Needless to say, I was a bit rusty at first, but I learned a lot more about Nuke through this process as well! I couldn’t tell you how many different ways I tried compositing my effect, I tried and discarded a whole lot of versions of the final comp, even starting from scratch halfway through my project to try and recreate my comp from a clean slate. If there’s one big takeaway I got from my journey in the compositing process, it would be that less is always more when it comes to compositing effects. If your simulation is lacking detail and contrast in its raw form from Houdini, you won’t ever be able to fully compensate for what it is lacking in comp, no matter how many color corrects and transform nodes you use— As you can probably guess, I speak from experience here.
If you’ve been following the process of this project, you’d know that I originally intended to tackle two VFX projects this past semester, but I ended up adjusting my scope to just focus on refining the Scarlet Witch VFX recreation to make a quality portfolio piece. This realization was a real turning point for me, and forced me to look back on the effects I had created along with the way I was compositing them, and realize that there was a fundamental issue with the quality of the VFX at a base level. From there, I started trying out completely new methods and branching out of my comfort zone, both in Houdini at first and eventually in Nuke again.
This was, of course, the point at which I completely remade my Nuke comp from scratch with new and improved effect simulations. The difference was pretty funny to see between my old comp and new comp: I found myself using less and less extra nodes in Nuke once the VFX I simulated in Houdini actually had good detail to work with already. Through my research into new methods of both simulations and compositing, I also discovered the fun tools created for Nuke on sites like Nukepedia. A personal favorite of mine for this project specifically was the Exponential Glow tool, which really helped in simplifying the lookdev process for pretty much all the individual parts of my magic. I look forward to exploring more of these tools for future projects!
The last bit of Nuke wisdom I wish to impart on my audience is the importance of the unpremult and premult nodes. This was one of the things that Professor Lim emphasized to me at the end of this independent study, how something so small can drastically improve the quality of your effects. If you’re not already aware, the unpremult and premult nodes essentially help with preserving opacity (and the lack thereof) in the compositing process, particularly when it comes to utilizing color correcting nodes. I initially didn’t unpremult the parts of my effect at all when compositing them, and though it still looked perfectly fine from afar, taking a closer look would reveal graphic inconsistencies and strange semi-translucent borders around some of the parts of the magic. So, my last fix for this final piece was to go back and add the unpremult and premult nodes in where I could, and I really do think the subtle fixes make all the difference.
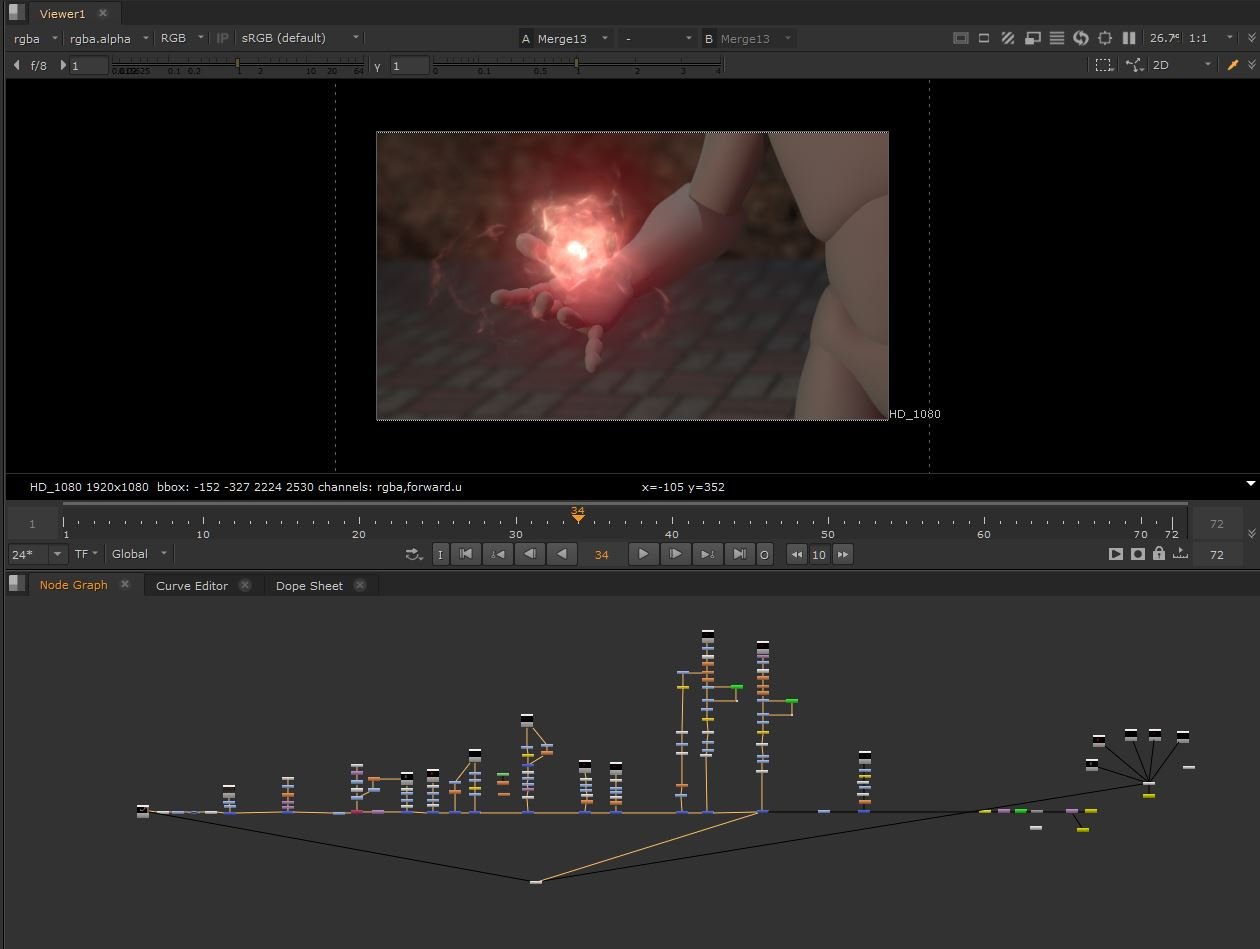
The final Nuke comp (believe it or not, this used to be even more convoluted and messy)
The Finished Product
Although this project caused me much pain and turmoil throughout its convoluted process, I am very pleased to be able to present something I am proud of as an end product. Now that you’ve heard some of my struggles and all the parts of the process, you can take a look once again at the final Scarlet Witch VFX recreation!
Final Thoughts
If you’ve made it this far, I just want to say thank you for giving my process a read and joining me on my journey to become an even better VFX artist. Creating VFX is something I definitely did not envision myself becoming passionate about, but thanks to Professor Lim and the wonderful community of tech artists that have helped me along the way, it’s now something I’m very excited to continue pursuing.
I want to give a big thank you in particular to Nelson Lim for taking a chance on me and mentoring me for the duration of this independent study, it was a process both of us were new to at the beginning of the semester, and I think we both came out having learned many helpful things in the end. I very much enjoyed and appreciated all the help he was able to provide for me, and I’m very excited to say that I will be continuing to work with Professor Lim next semester for another independent study in VFX—so be sure to be on the lookout in the future for more posts here on my next endeavors in VFX and other tech arts fields!
If you’re interested in reading a more detailed (and slightly humorous) version of my process in creating this effect, feel free to check out the rest of my blog to see the posts I’ve made since the beginning of semi-weekly work in progress updates. I also have my portfolio featuring the previous VFX projects I’ve worked on along with my other artistic pursuits on my website here if you’d like to see more of my work!