Dr. Strange VFX Recreation: Project Overhaul
I can’t believe it’s April already! It feels like just yesterday I was deciding on which shot to tackle for my capstone project this semester. That being said, with crunch time now weighing heavily upon me, making steady progress has definitely felt a lot more difficult than it did in the beginning of the semester.
Coming off of a discouraging week of work previously, this week I knew I had to make some big changes if I wanted to finish this shot by the end of the semester. So, I decided to sort of overhaul my entire project to bring it to a better state of progress based on where I am on the overall timeline of the semester. I reorganized my file, remade certain elements almost entirely, and took some time to adjust and rethink some of my approaches to certain problems. Thankfully, the hardcore grind of the past couple of weeks did in fact pay off, and will hopefully make my progress for these remaining weeks smoother.
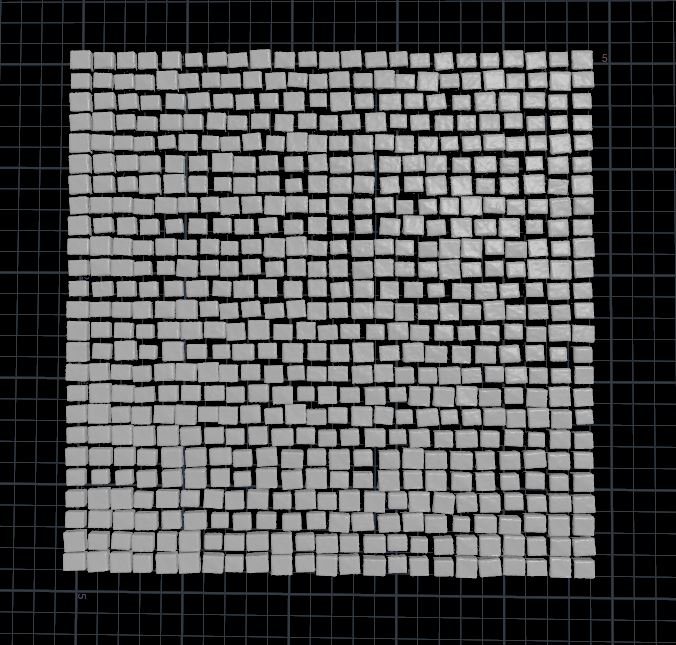
Starting off with my good ol’ cobblestones, last week I was able to implement the RBD sim switch for the end of the cobblestones’ movement so they would be able to fall and collide with each other in an organic-looking way. That first pass was pretty rough due to some issues I ran into with the cobblestones intersecting during the keyframe animation then suddenly colliding and rebounding off of each other when the RBD sim was activated, as well as with the cobblestones never settling once they dropped on the ground.
My first thought when approaching this issue was that I needed a way to determine which cobblestones were intersecting with each other so that I could then make modifications to only those stones. The initial way I decided to execute this was by utilizing the boolean node to first cut out the pieces of the stones that were intersecting, then use those pieces in another boolean node to carve away the original geometry of the cobblestones so that they were no longer overlapping each other. This technically did work, but the way the boolean node grabbed the overlapping parts of the stones made for some very rough and messy looking cuts when I fed them into the second boolean to reshape original cobblestones.
So, I went back to the drawing board to figure out a cleaner way to modify the intersecting stones’ geometry and eventually came across the intersection analysis node. This node pretty much does exactly what it says, it detects points that are intersecting with other points within a given distance threshold and outputs them as a group. I decided to use these points to create an attribute I called “overlap” which I then transferred back onto the main grid of cobblestones to highlight the overlapping stones. I then utilized a transform node set to only affect cobblestones with an intersect value that wasn’t 0 to make the affected stones slightly smaller, which I ran through a for loop to ensure this was done for each stone individually.
To my surprise and delight, this actually worked quite well to address the intersection issue. It worked well enough that I was even able to go back in and make the cobblestone grid more tightly packed and accurate to my reference, since I no longer had to worry about some stones causing issues by getting too close and overlapping with each other.

With that first success under my belt, I went back to revisit the actual RBD sim of the cobblestones to figure out what was going on there. With the collision issue fixed, the stones were no longer flying out when they became activated as RBD objects, but the issue of the stones not settling after landing still remained. I tried a lot of troubleshooting on this issue with the bullet solver node, but the solution I ended up with was to just forego that node as a whole and create an RBD bullet solver the old fashioned way in dops instead. The pieces still didn’t quite settle down initially when I set up the dops network, but once I transferred the sop solver custom drag fix I tried last week, it actually worked properly and the stones settled without a hitch.
My new dops setup also just seemed to be easier to deal with as a whole, since I was getting a lot of crazy movement from the sop bullet solver from the start (which I’m guessing was an issue with it somehow trying to transfer velocity from the stones’ keyframed movements?) that the dops setup never gave me. Thanks to this new and more successful setup, I was able to produce a much nicer-looking RBD effect to the cobblestones’ movement and make them drop and collide with each other in an organic way.
The second largest beast of an issue looming over me was the continued complications with the magic sparks particles. I had been steadily making some progress on lookdev for the particles overall, but those longer-lasting particles were continuously giving me problems in looking very strange and jittery, despite what I thought I was seeing when looking at them in the obj context. It turns out this was the result of some wonky velocity blur being applied to the particles, hence why I only realized they were still broken when I was rendering them out for the week.
I ended up not only creating a new setup to cheat the velocity blur by duplicating the particles and turning them into curves to mimic the camera shutter effect (with the same setup as the sparks from The Nevers fire project), but I also just decided to recreate both particle sims from scratch for good measure. I wasn’t hating how the particles were coming along, but there were just many lingering issues with how they looked and moved that had been persisting from week to week, so I knew the best thing I could do was start out fresh and new instead of getting stuck micro-adjusting the same parameters over and over.
My previous week’s work in creating the particle sims for the magic sparks wasn’t all for nothing, since that experience made recreating the sims much quicker and easier the second time around. And just as I thought, the sims turned out a lot better as a whole this week thanks to that extra step, with the shorter-lasting particles having more variation in size and movement and the longer-lasting particles moving quite naturally with the cobblestones thanks to the new advection volume I introduced.
The final parts of my progress for this week mostly had to do with the falling dirt under the cobblestones, which thankfully hadn’t gone horribly wrong yet, but did need some more work and refinement. I went in and adjusted the clustering of the grains a bit to make it look more organic, and also added grains higher up so that they sat in the spaces between the cobblestones and filled in that area more.
I was also able to add a little extra element of the magic particles lingering on the dirt after the magic stream disappears, which was pretty simple to do by creating a group of grains during the vellum sim from an attribute transferred onto them by the stream geometry (not unlike the method I used to activate each cobblestone to start moving). I was able to extract this group of grains after the vellum sim and adjust their coloring and emission to mimic that of the magic sparks, allowing them to look like magic particles but fall like dirt grains.

I also revisited the pyro smoke sim I first created last week for the dust cloud that rises as the dirt begins to fall, taking some time to refine the way it was affected by the velocity and movement of the cobblestones (and also refining the smoke volume that I was utilizing to affect the longer-lasting particles in the process). It was a little bit tricky to strike the right balance of the dust cloud manifesting in a noticeable yet natural way, but also not being too overpowering and looking like a random cloud of smoke. Definitely a departure from the kinds of pyro sims I’ve worked with previously, but a great lesson in “less is more” when it comes to adding extra forces to sims like these that are mostly just driven by the velocity of the collision object.
After my little project overhaul work week grind, I ended up with this as my wip shot:
The grind this past week was very intense to say the least, but I am glad I did it at the end of the day. This project has been new and different for me in many ways, but I think the biggest thing for me to adjust to was the fact that there’s just so many elements making up this FX shot. Previously, I mainly worked with shots with one main hero effect and just a handful of smaller supporting elements. But, this shot has more than one main element that makes up the hero effect of this shot, all of them working together and affecting one another.
This is something I didn’t quite realize when picking out this shot initially for my capstone, but it very quickly began to catch up to me when I noticed my file and workflow getting very convoluted and messy as I worked through all the different aspects of this shot. I now definitely have a higher appreciation for having very organized hip files, and though I was keeping my hip files fairly tidy previously, I learned the hard way that going the extra mile to organize your nodes, outputs, caches, and really all aspects of your elements is very important and makes things easier in the long run.