Scarlet Witch VFX Recreation: Scene Setup
So, here we are, week 3 of my VFX independent study, and things are finally getting rolling! This week I focused on creating the base framework of my scene, getting all the foundations properly set up before I even begin to add any VFX.
To begin, I actually conquered my fear of Autodesk’s Maya, grabbing the body mechanics rig by anim_matt from Gumroad and opening it in Maya. This rig was perfect for what I needed, just a basic body stand-in for Wanda with posable limbs. It took me a moment to familiarize myself with the new UI, but soon enough I was able to manipulate the arm and fingers in order to mimic Wanda’s pose from my reference shot.

Very basic, I know, but it was a small feat for me! Having successfully posed the rig, I went to export the Maya file into an FBX that I could then import into Houdini. This is where my first questionable occurrence happened. Opening my first test of the exported FBX rig looked a little like this:
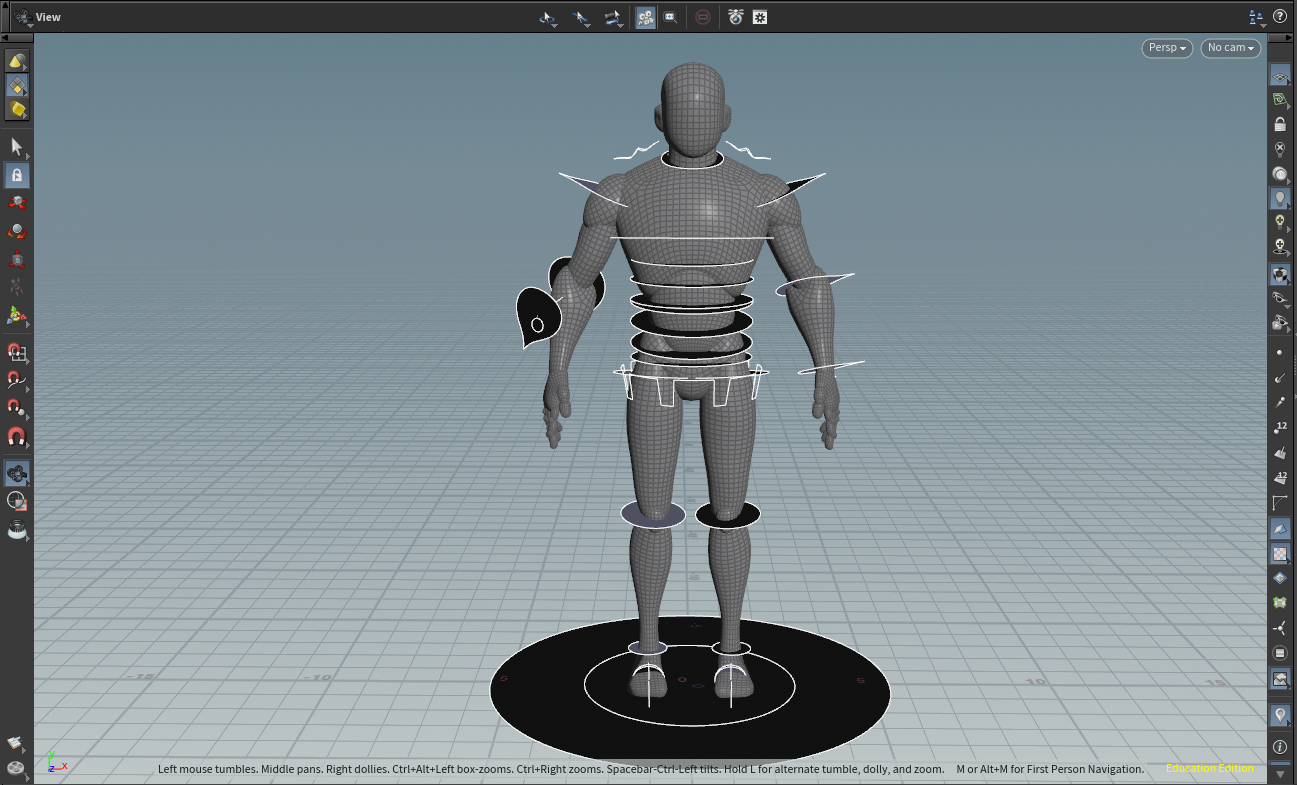
Certainly not the result I was hoping for, to say the least. The rig seemed to have reverted back to its default pose, and some kind of support geometry had also imported itself, which to be honest I had no idea how that I happened. So, I turned to google and many old Maya forums, eventually realizing that I had to duplicate the posed mesh in Maya before exporting it. I also ended up exporting it as an OBJ file instead, which seemed to be the magic answer, since I finally ended up with a nicely posed and working rig in Houdini after that.
After importing the rig, I went about business as usual, adding some basic planes to act as a floor and wall for my shot. I also made sure to scale everything down properly, since I made the fatal mistake on my final for last semester of not checking my scaling, and I ended up with a larger-than-life scale for my scene that made my life a lot harder when it came to working with VFX.
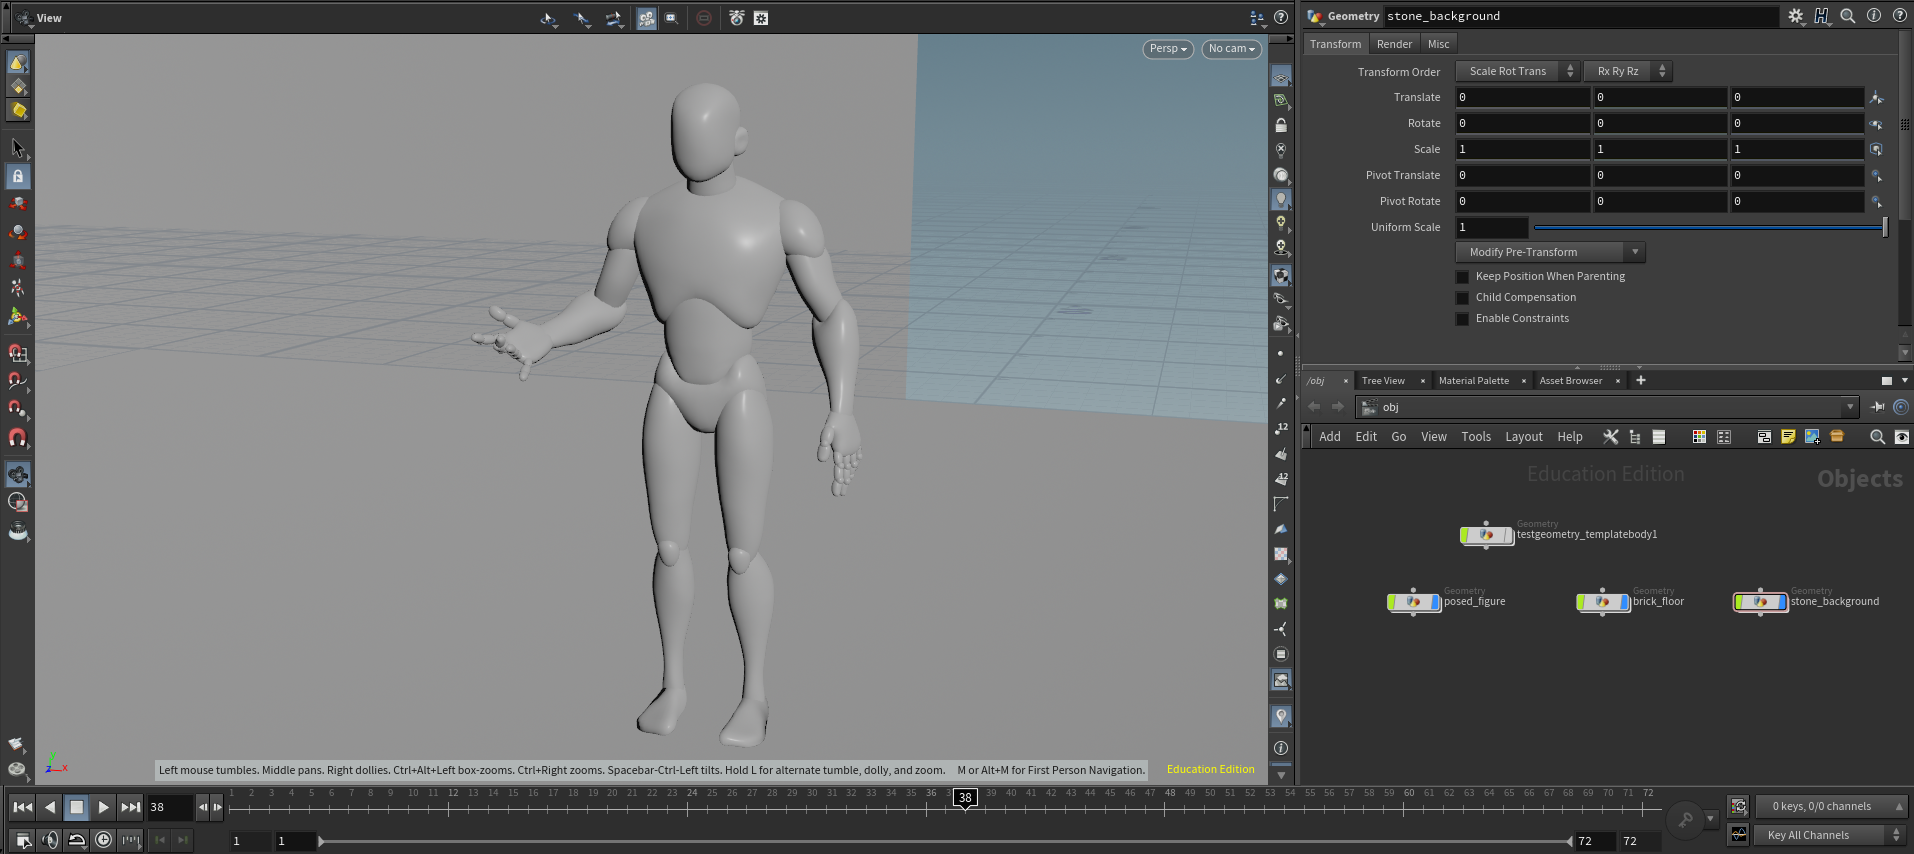
It looks a little questionable, but trust me, it all looks great when you’re looking through the camera!
It was pretty much smooth sailing after this until the end of my current WIP. I added PolyHaven textures (seriously a life-saving website for any textures or HDRIs you might need) for all my objects, put a camera into the scene, and then added some basic lighting to try to match my reference shot relatively faithfully. My only qualm with this final shot setup is that the shadows aren’t as harsh as I’d like them to be, but overall I think the setup is pretty solid so far!

Next week marks the start of my actual VFX work for this shot recreation, and though I’m a little intimidated still, I am excited to delve into the meat of things! I’ve talked with my professor about the basic methods I’ll be using to create the Scarlet Witch magic, so it’s basically going to be a whole lot of trial and error from here. I’m hoping to come out of next week with semi-decent looking base FX!